Chapter 7
Fuselage Exterior
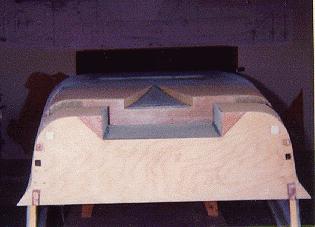
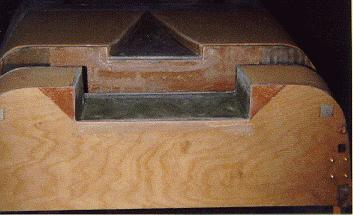
At this point I have a fuselage "box" that isn't very shapely. First I add some foam at the back to create a NACA air duct needed to supply the engine with cooling air. The next thing I need to do is shape the foam to the correct contour as indicated in the plans and also shape the corners where the bottom and sides come together by carving and sanding the foam. Some of the longeron is also sanded away as indicated. The sides of the fuselage are faired at the back where they join the NACA scoop. Here's some pictures.
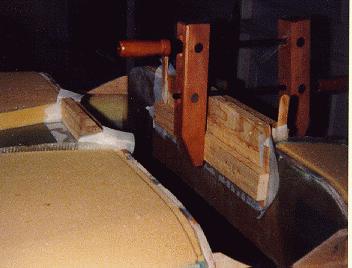
After contouring it to the correct shape, I glass the scoop area and create a joggle where an eventual cover will go for the gear legs. This was a bear and I had to clamp and hold the glass to get it to fit nicely. This was a very frustrating experience and I know there must be a better way. Here's some picture of the duct and the clamping that I had to do.
Once that was glassed I prepared to glass the whole bottom surface. I glued the speed brake back in place temporarily and used some duct tape under it to keep it from becoming permanent. I also fabricated a NAV antenna using copper tape and some coax and installed it toward the front of the fuselage. Then I fabricated some step reinforcements from plywood and installed them on each side of the fuselage. I was thinking of making my canopy different that the plans so that I could enter from either side of the plane. I needed steps on both sides to allow for this. In the end I decided not to deviate from the plans on the canopy, so I have an extra step reinforcement that I won't use. I glassed the entire surface with some of the glass extending over the sides slightly. This will be overlapped later when I glass the fuselage sides. Here is a picture of the antenna prior to glassing.
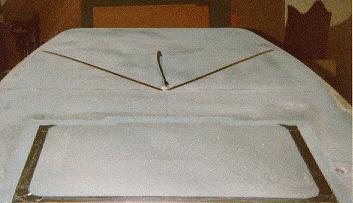
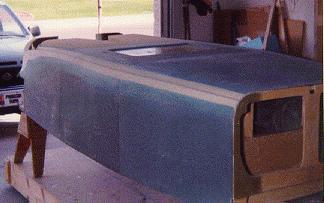
Because of the changes I wanted to do to the canopy, I didn't glass the sides right away. Instead I started work on the canard. After deciding against the canopy changes I came back to the sides. I had to contour some of the longeron area along the front from about the instrument panel forward. I also removed a large piece from each side where the canard will fit. This is directly in front of F28 to F22. Once the preparation was complete, I built some A-frames and bolted the fuselage to it so that right side of the fuselage was up. I then glassed this side. After curing and trimming, I did the same thing to the left side. The fuselage tub is now mostly complete and I am able to sit in it and, like so many others before me, make airplane noises and pretend to fly!